
Maintaining and checking your wheels
When you love something or someone, you take care of it. The same goes for your wheels (they'll love you back for it!). To maintain their performance and guarantee their longevity, and also to ensure your safety, here are a few essential operations and steps that you should never neglect.
Before every ride
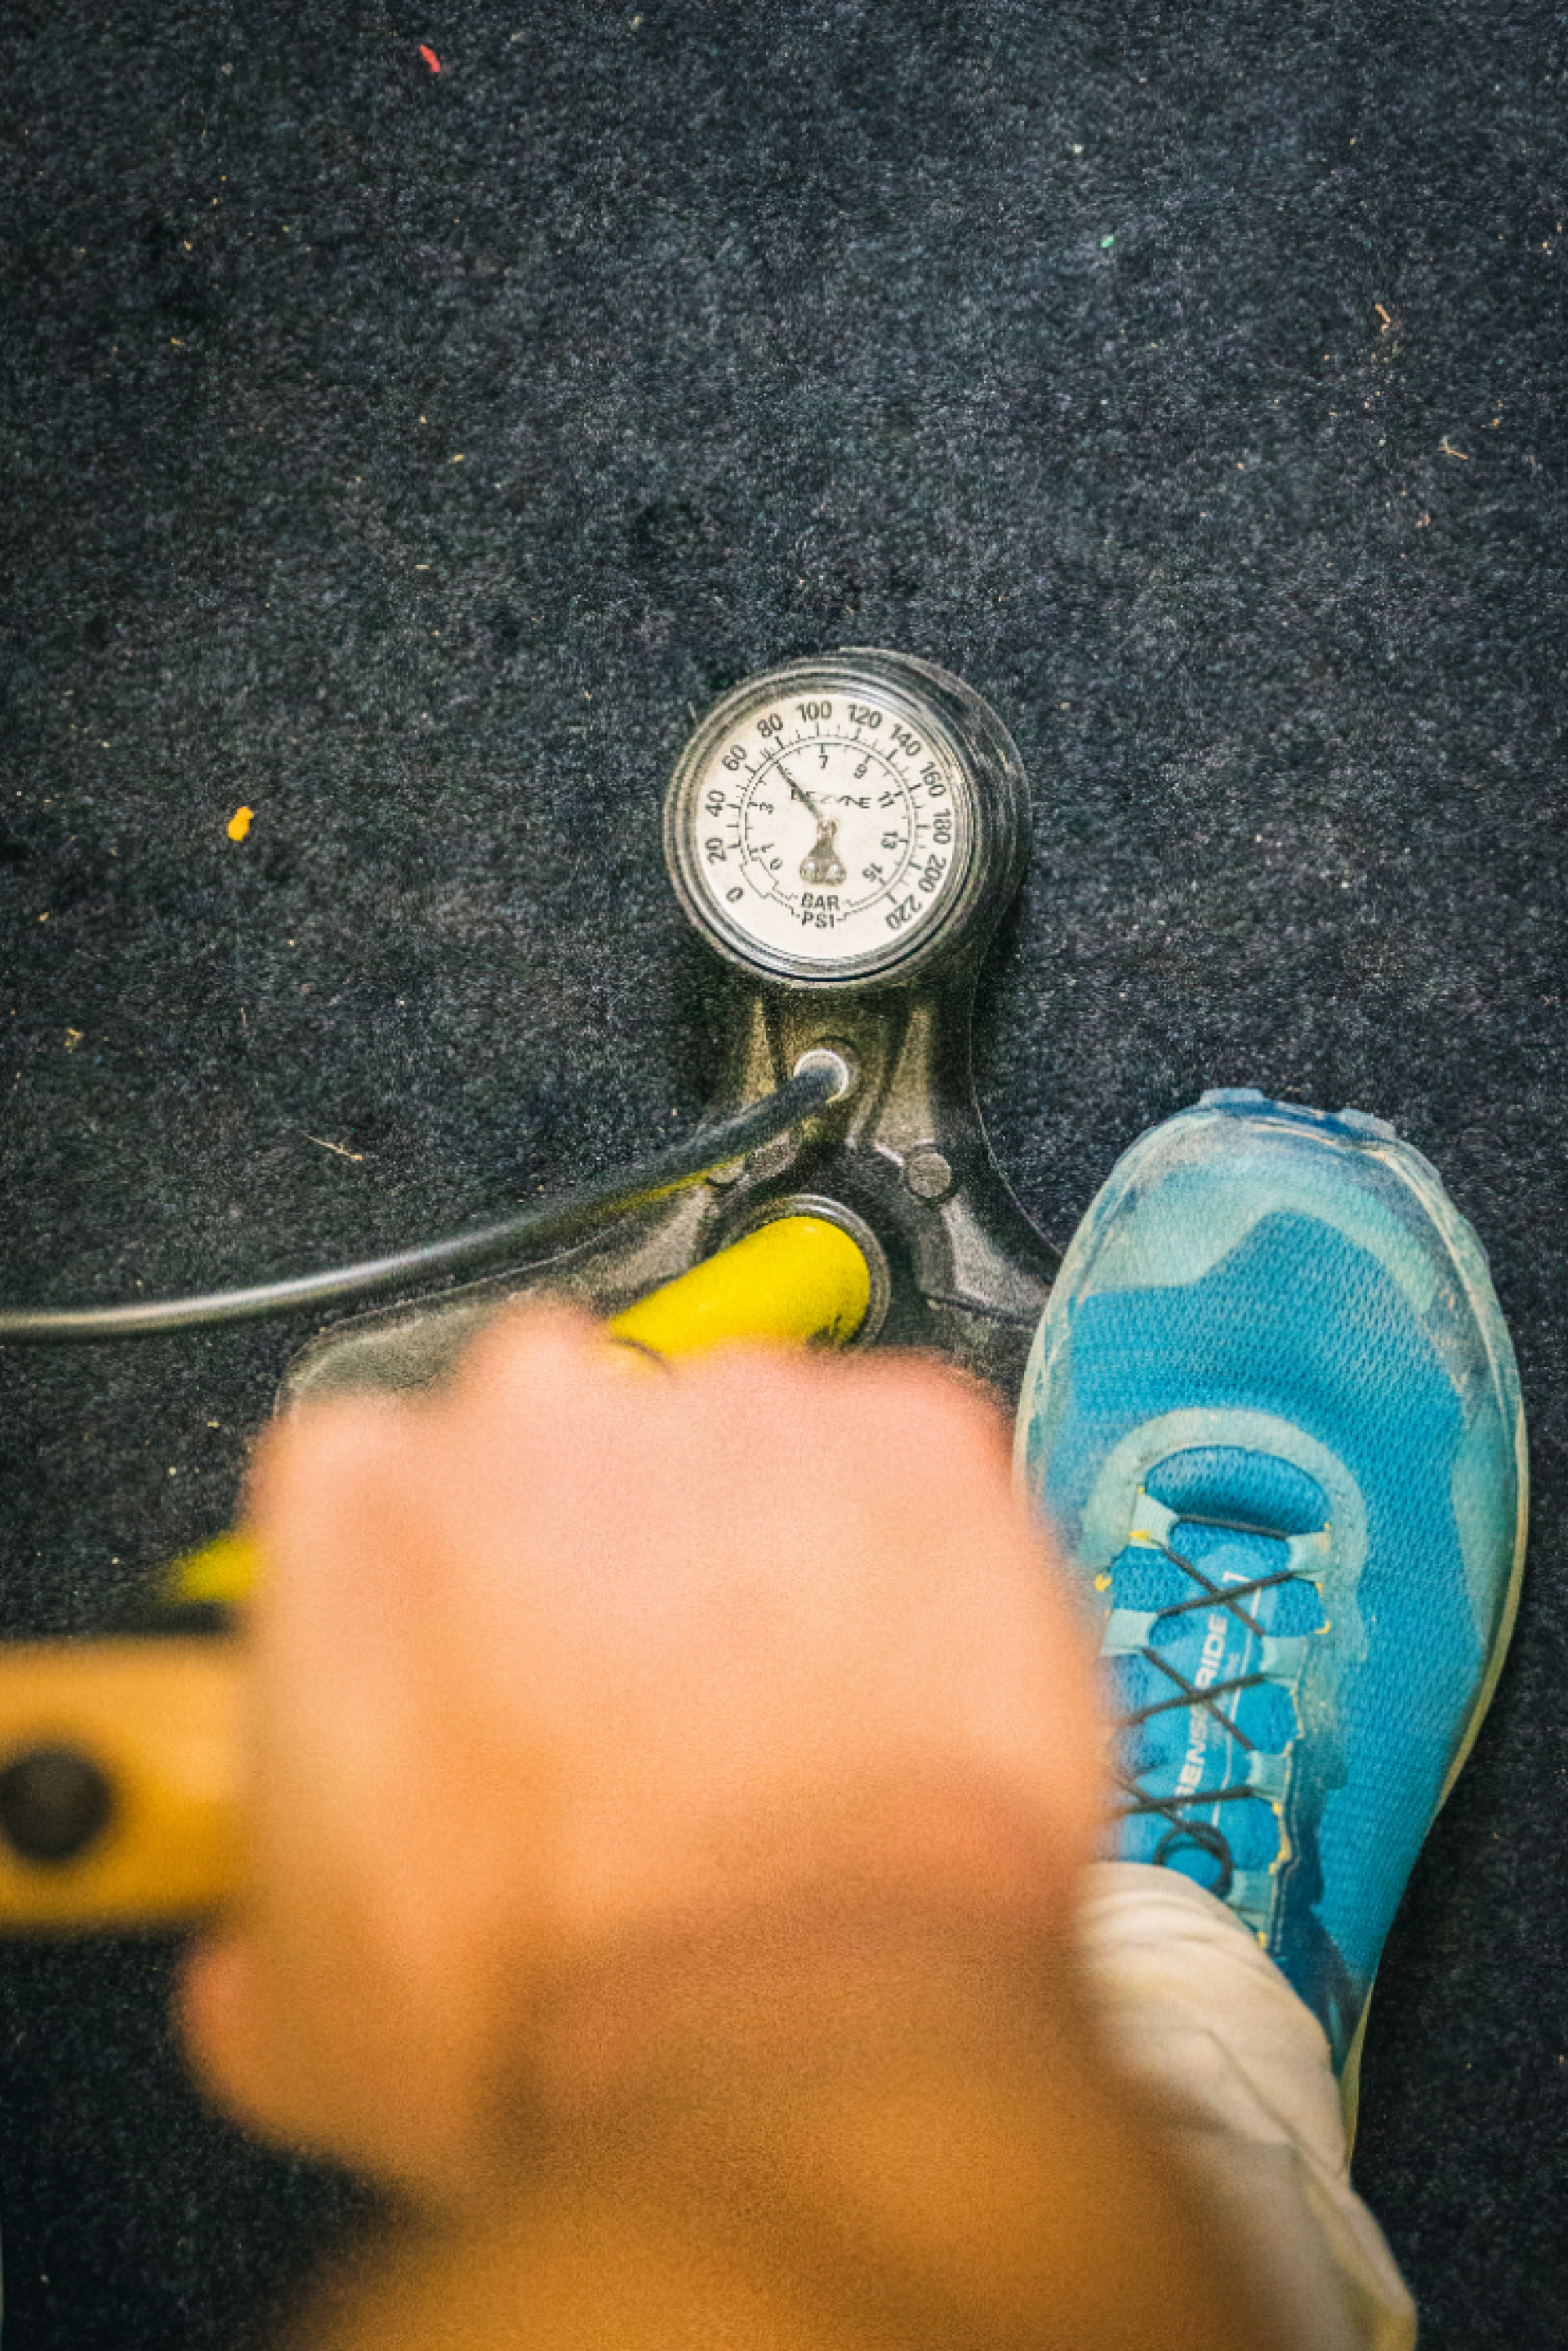
Check tire pressure
This may seem obvious, but it's an essential parameter to check before going out on the road, especially as tires tend to deflate during storage, tubeless tires in particular. We therefore recommend that you check the pressure using a pump or a pressure gauge before every ride.
It is important not to exceed the maximum value marked on the rim and tire. If these are different, take the lower value into account, or refer to our dedicated page.
Weather conditions, tire width, terrain and the rider's weight all influence the correct tire pressure. As a general rule, less tire pressure means more comfort and traction, at the expense of rolling resistance and potential for flats.
It's up to you to find the sweet spot and what’s best for your style or riding.
Check axle tightness
Another basic but essential consideration is the tightness of the wheel axle. Be safe and remember to check this before every ride, especially if someone other than you has fitted your wheels to the bike.
Also remember to check that your axle is always greased, to prevent premature wear of the thread and ensure that it slides smoothly.
Finally, when tightening, remember to apply the torque recommended by the manufacturer of your frame, generally indicated on the axle. An appropriate torque spanner is often supplied by the manufacturer to ensure this precision. In the case of a Mavic Speed Release axle, the maximum torque is calibrated directly and all you have to do is tighten it until the clutch disengages.
Check the braking system: tight discs and/or well-adjusted brake pads
It's important to check that there's no excessive play when your wheels are tightened. From a standstill, move the wheel sideways while holding the frame or fork firmly. If there's too much play, you'll hear a little "clack". In this case, it's best to contact your retailer to analyze the problem more closely and consider an adjustment or repair (replacing the bearings, for example).
Check braking system: discs tight and/or brake pads well adjusted
Make it a habit to do a short braking maneuver on the flats at low speed at the start of your ride. The aim is to detect any malfunctions (hydraulic leaks, broken cables, missing pads, etc.). This little routine will save you from any nasty surprises on your first run of the day or when you reach a stop sign.
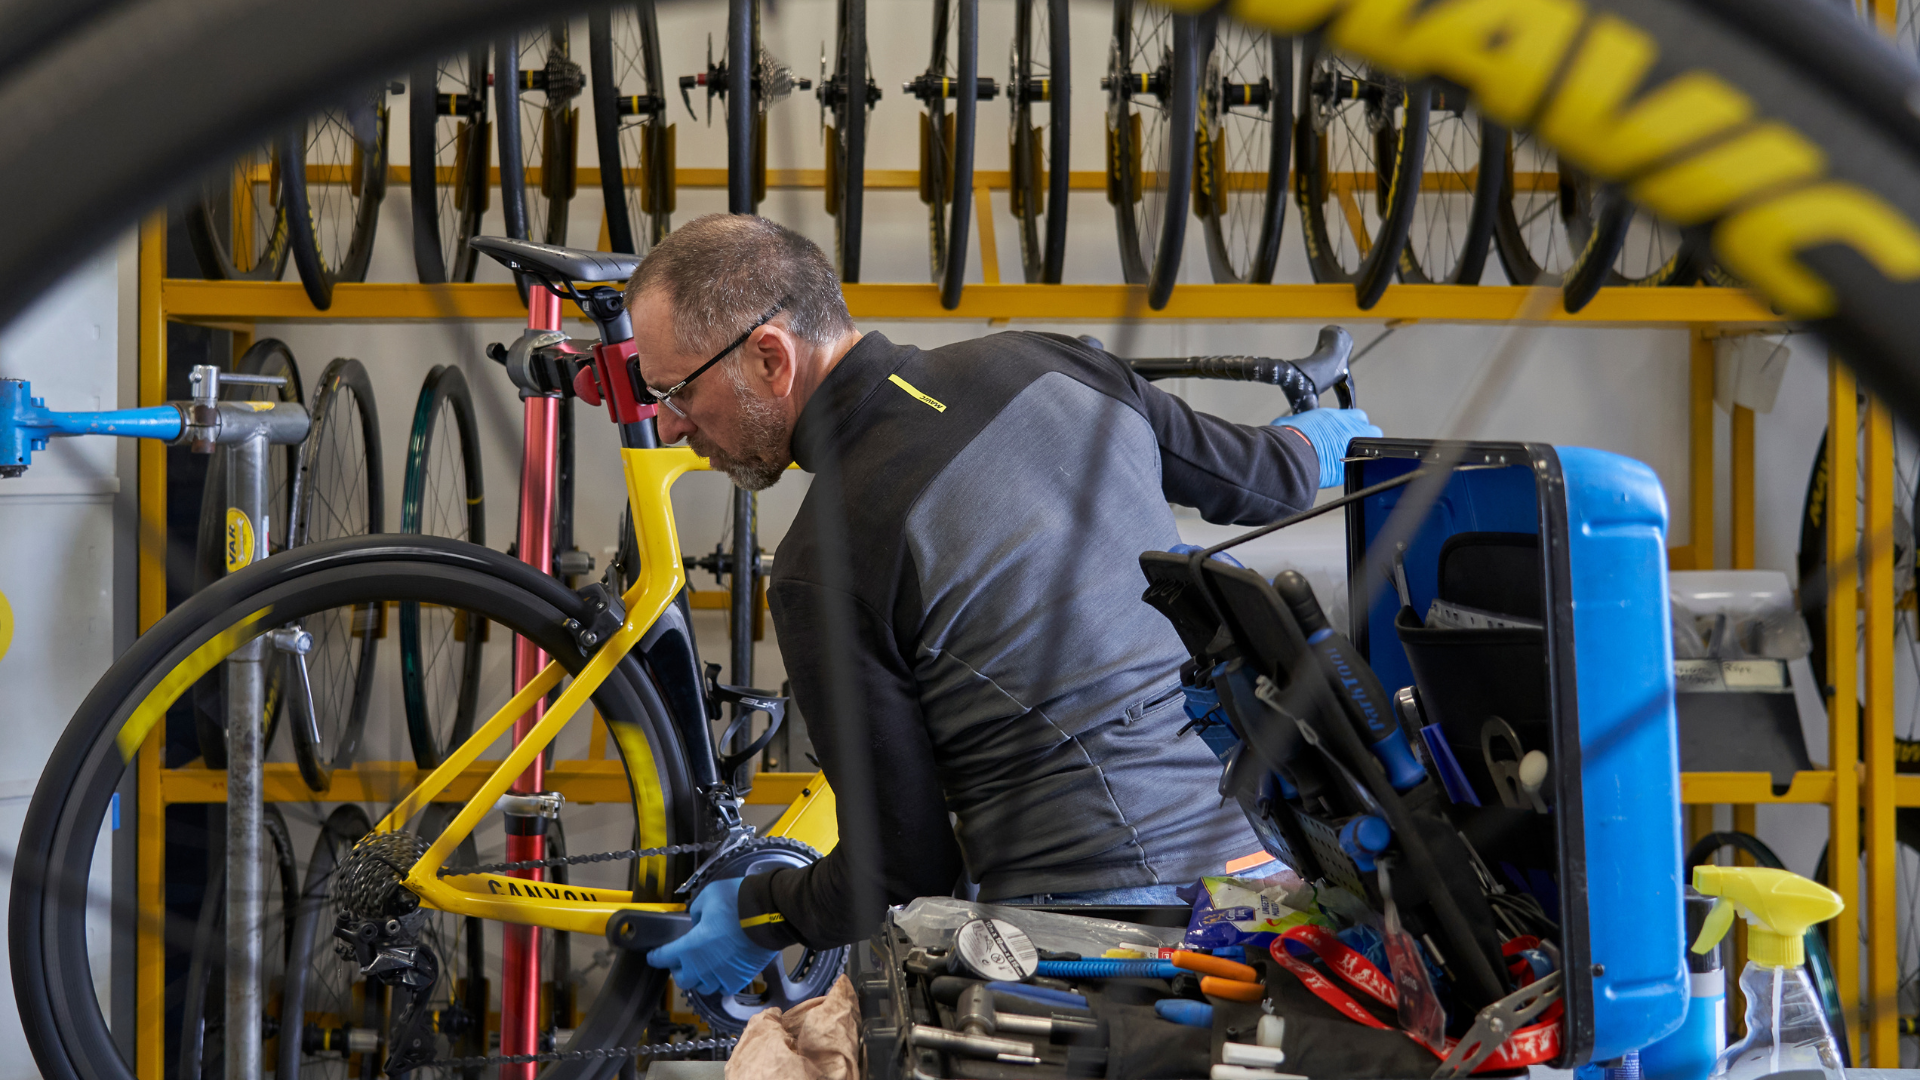
After each ride
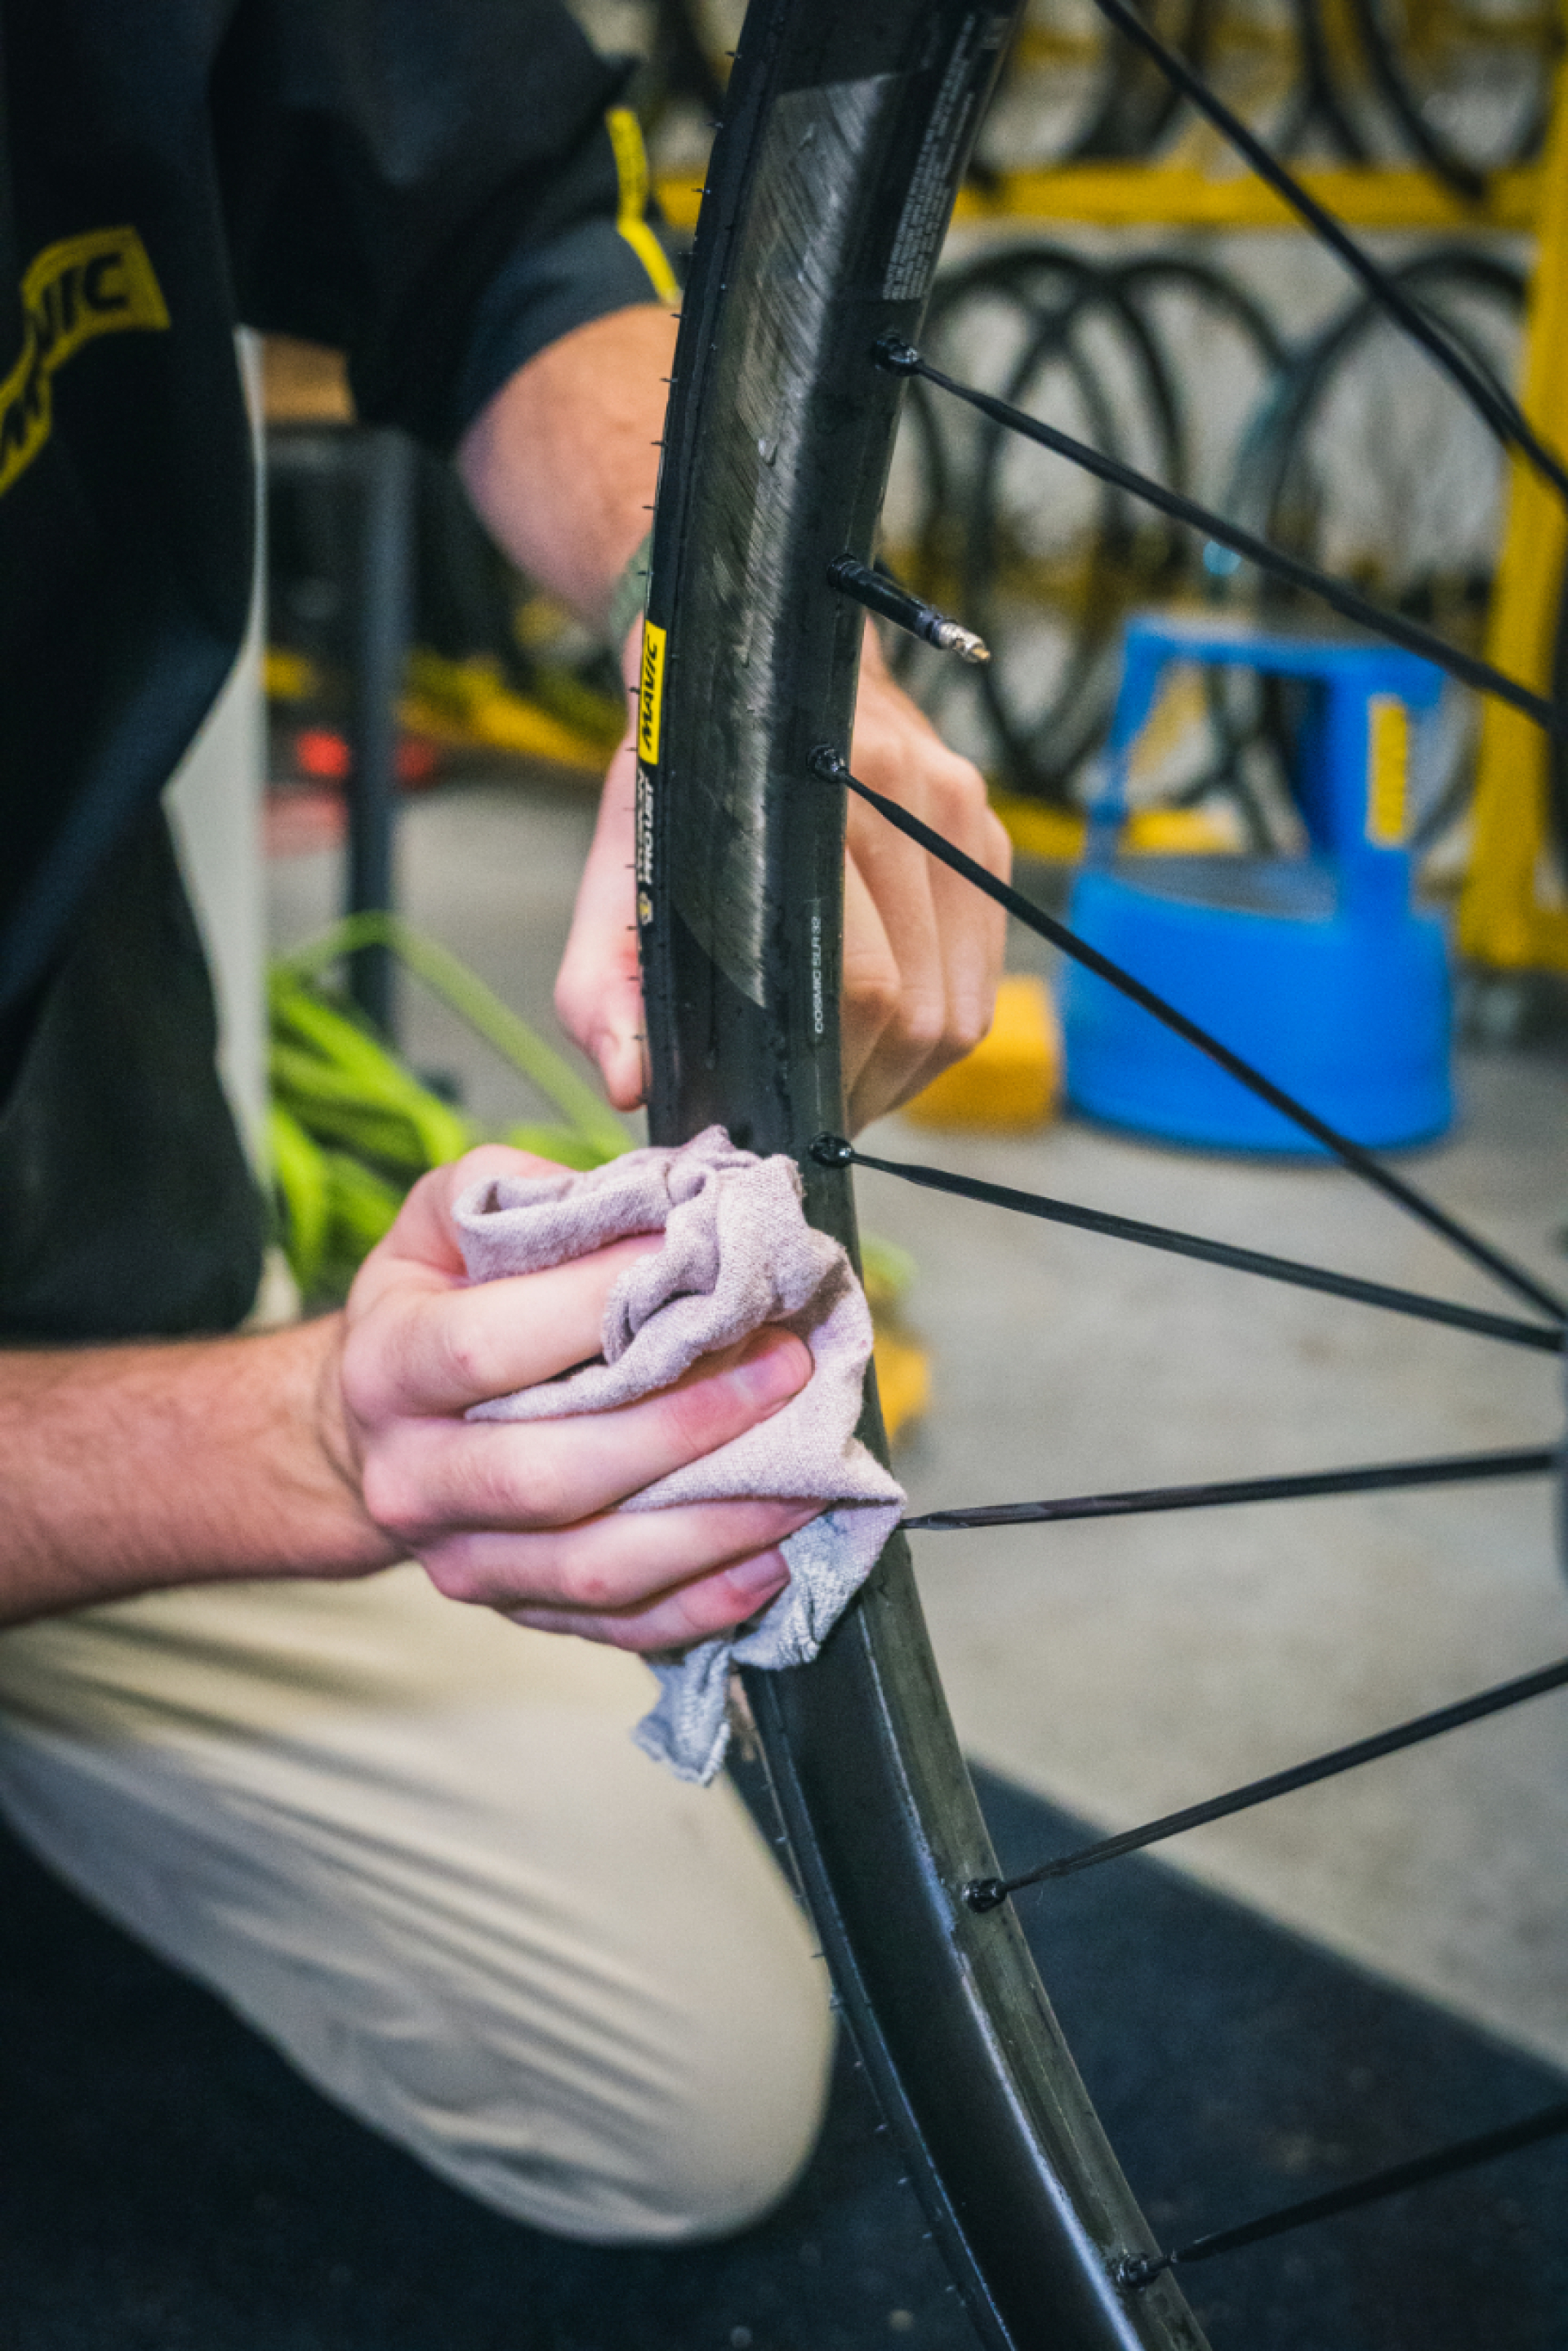
Clean the wheels with soapy water.
It's important to clean your wheels after every ride, especially if you're riding in wet or dusty conditions, or on rough roads. Take this opportunity to also inspect their condition.
Be careful not to use aggressive cleaning products; we recommend products specifically designed for bicycles or conventional soapy water, applied with a cloth or sponge rather than a brush to avoid damaging your wheels.
For those who live by the sea, this cleaning is all the more essential as the salty air can corrode metal parts.
Rinse all the wheels with a low-pressure jet
Then rinse your wheels with clean water using a low-pressure jet to preserve the bearings. (Above all, don't use a pressure washer or similar device, especially at close range!).
Dry the wheel completely
Finally, carefully dry each part of the wheel (rims, hubs, spokes) with a clean, dry cloth. This will prevent the formation of white marks and rust.
Check the state of wear of the braking system
One last maintenance check after each ride: assess the state of your braking system.
- If you use rim brake pads, check that there are no rogue contaminants or grit lodged between the pads and rim to avoid scratching and digging into the braking surface. Also check the overall condition of the pads and their level of wear by looking at the indicators. If these are reached, then the pads should be changed, even if you feel you are braking well. Also check the wear of the brake band: if it appears to be worn down, see your Mavic dealer to check the level of wear. If the rim wear is too great (too deep), you'll need to have the rim replaced.
- If your wheels have discs: check that the calipers are well centered, check the level of wear on the pads and replace them if necessary. Don't forget to check that the discs are tightened to the hubs to the torque recommended by the manufacturer, and take the opportunity to make sure that they aren’t warped or bent and rubbing against the brake pads even when the lever is not applied.If they do, you'll hear them intermittently rubbing against the pads and wheel rotation will be impaired.
Check once a month.
In addition to the checks we suggest you carry out every time you ride, you should also carry out more in-depth maintenance at least once a month.
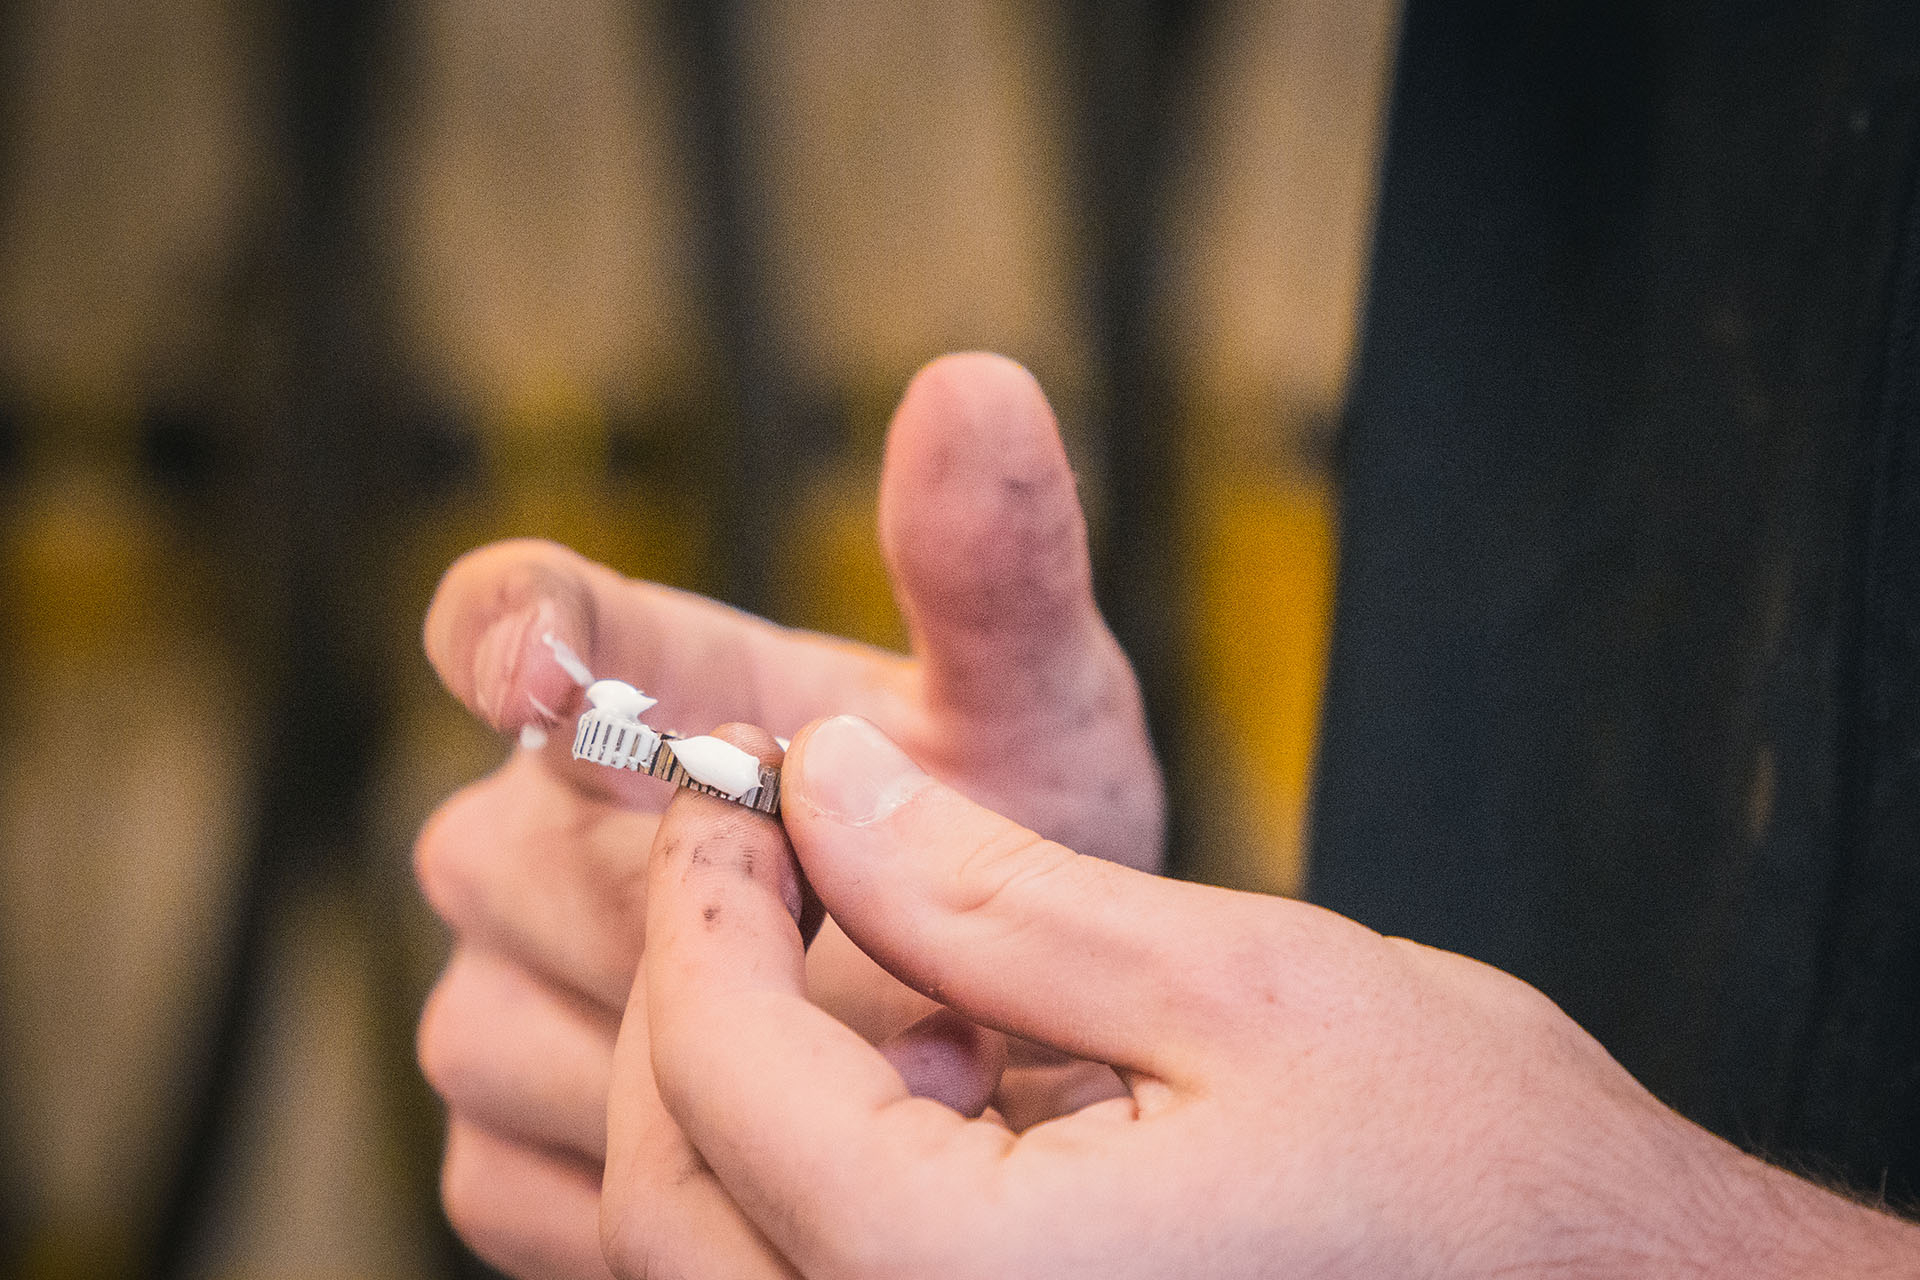
Open your freewheel system to check its condition
This may seem complicated at first, but think again! Checking the condition of your freewheel system is child's play on Mavic wheels.
All our current wheels are equipped with the ID360 system, designed to be both efficient and easy to maintain. We've even put together a tutorial to make your life easier!
If your wheels are older and not fitted with the ID360 hub, ask your dealer or contact Mavic directly, as it's never too complicated for our team and we'll do everything we can to find a repair solution.
Check the tension of your wheels
The spoke tension of your wheels is an essential element in maintaining their performance. To assess, grab the spokes in pairs and try to bring them together. If you find that one spoke is 'softer' than the others, you need to adjust its tension.
Here again, an authorized Mavic dealer will be your best ally in ensuring that you comply with the recommended tension, which will guarantee the health of your wheels and overall safety.

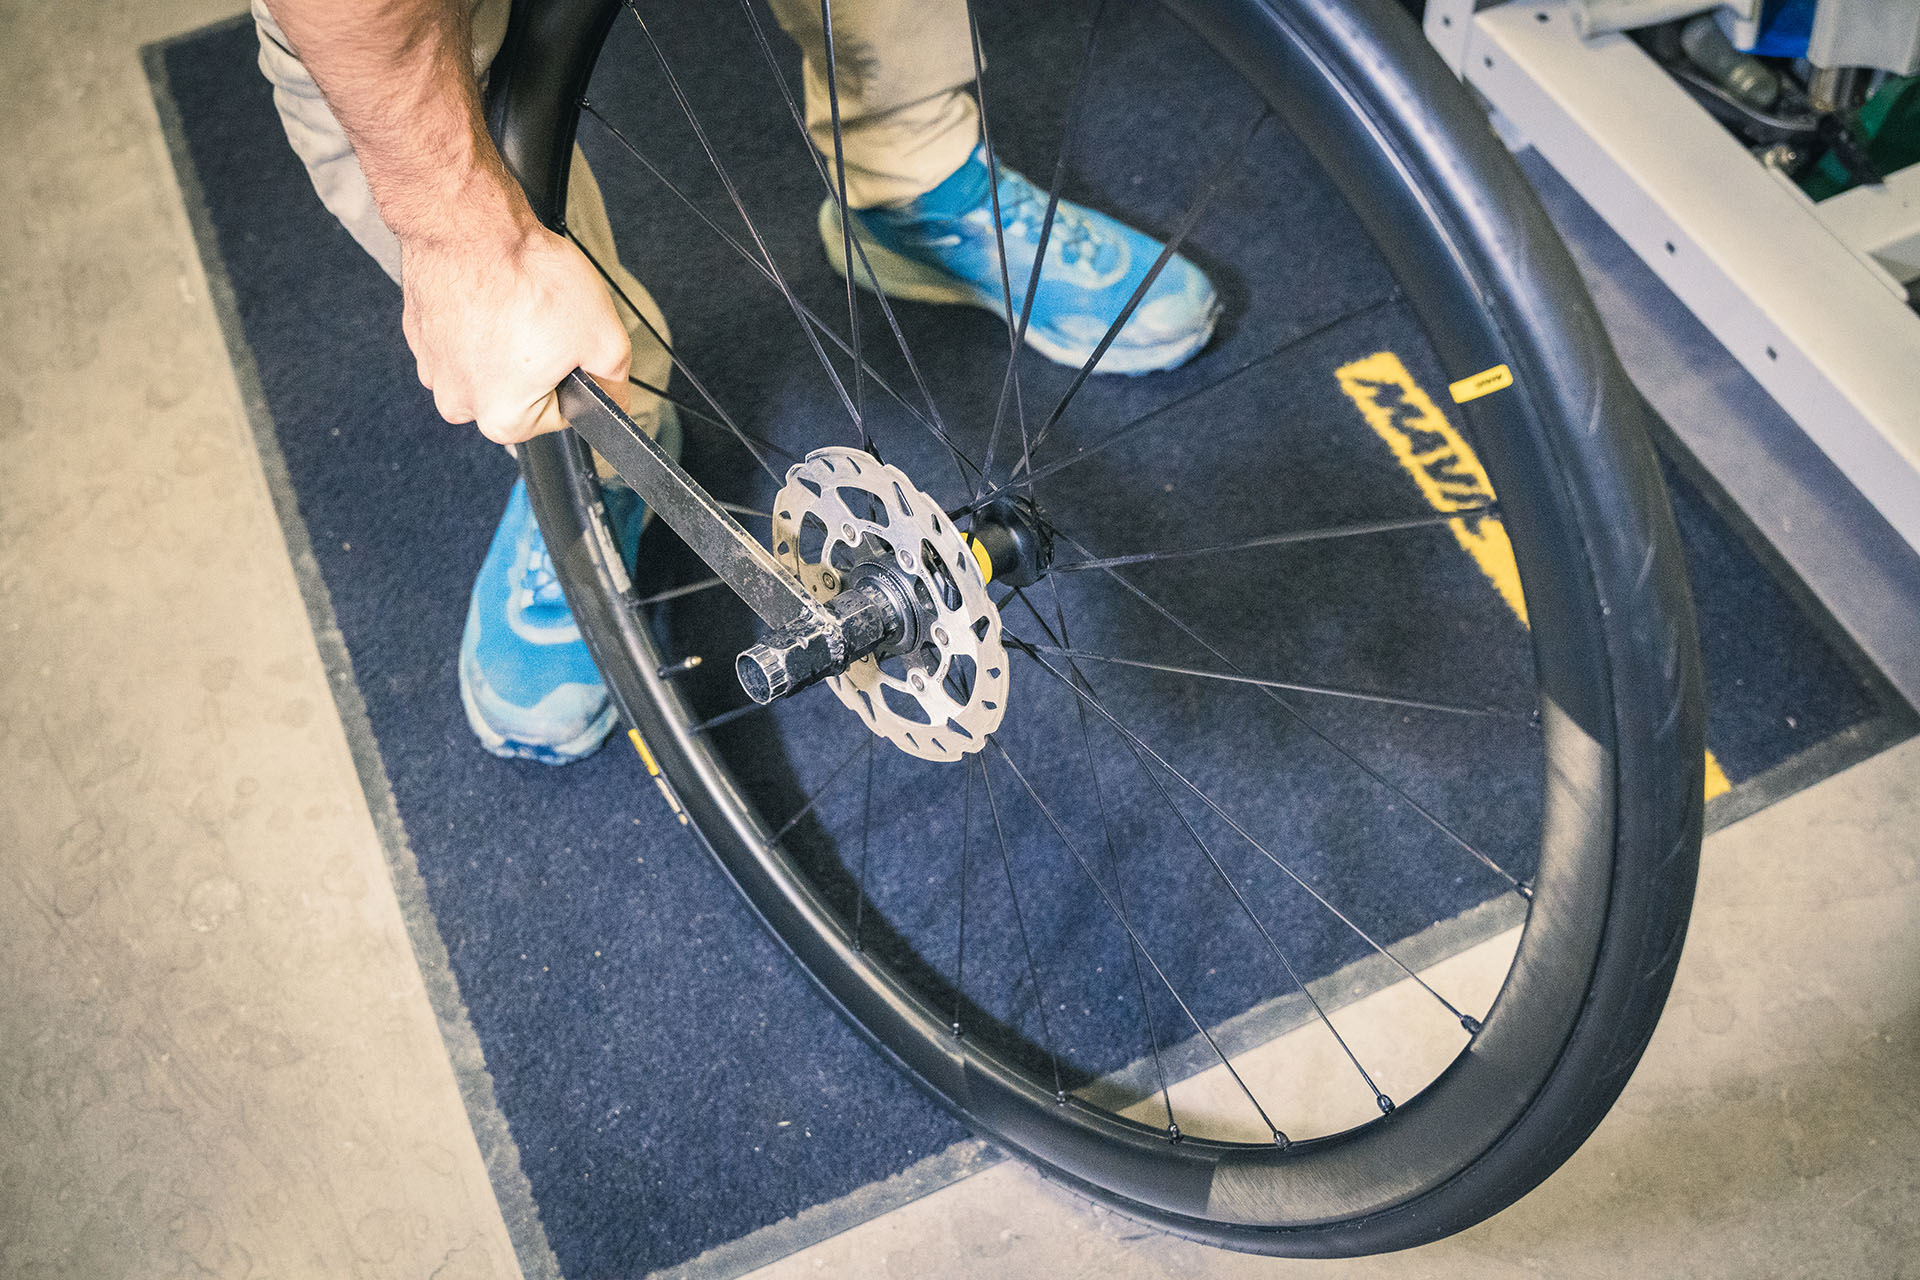
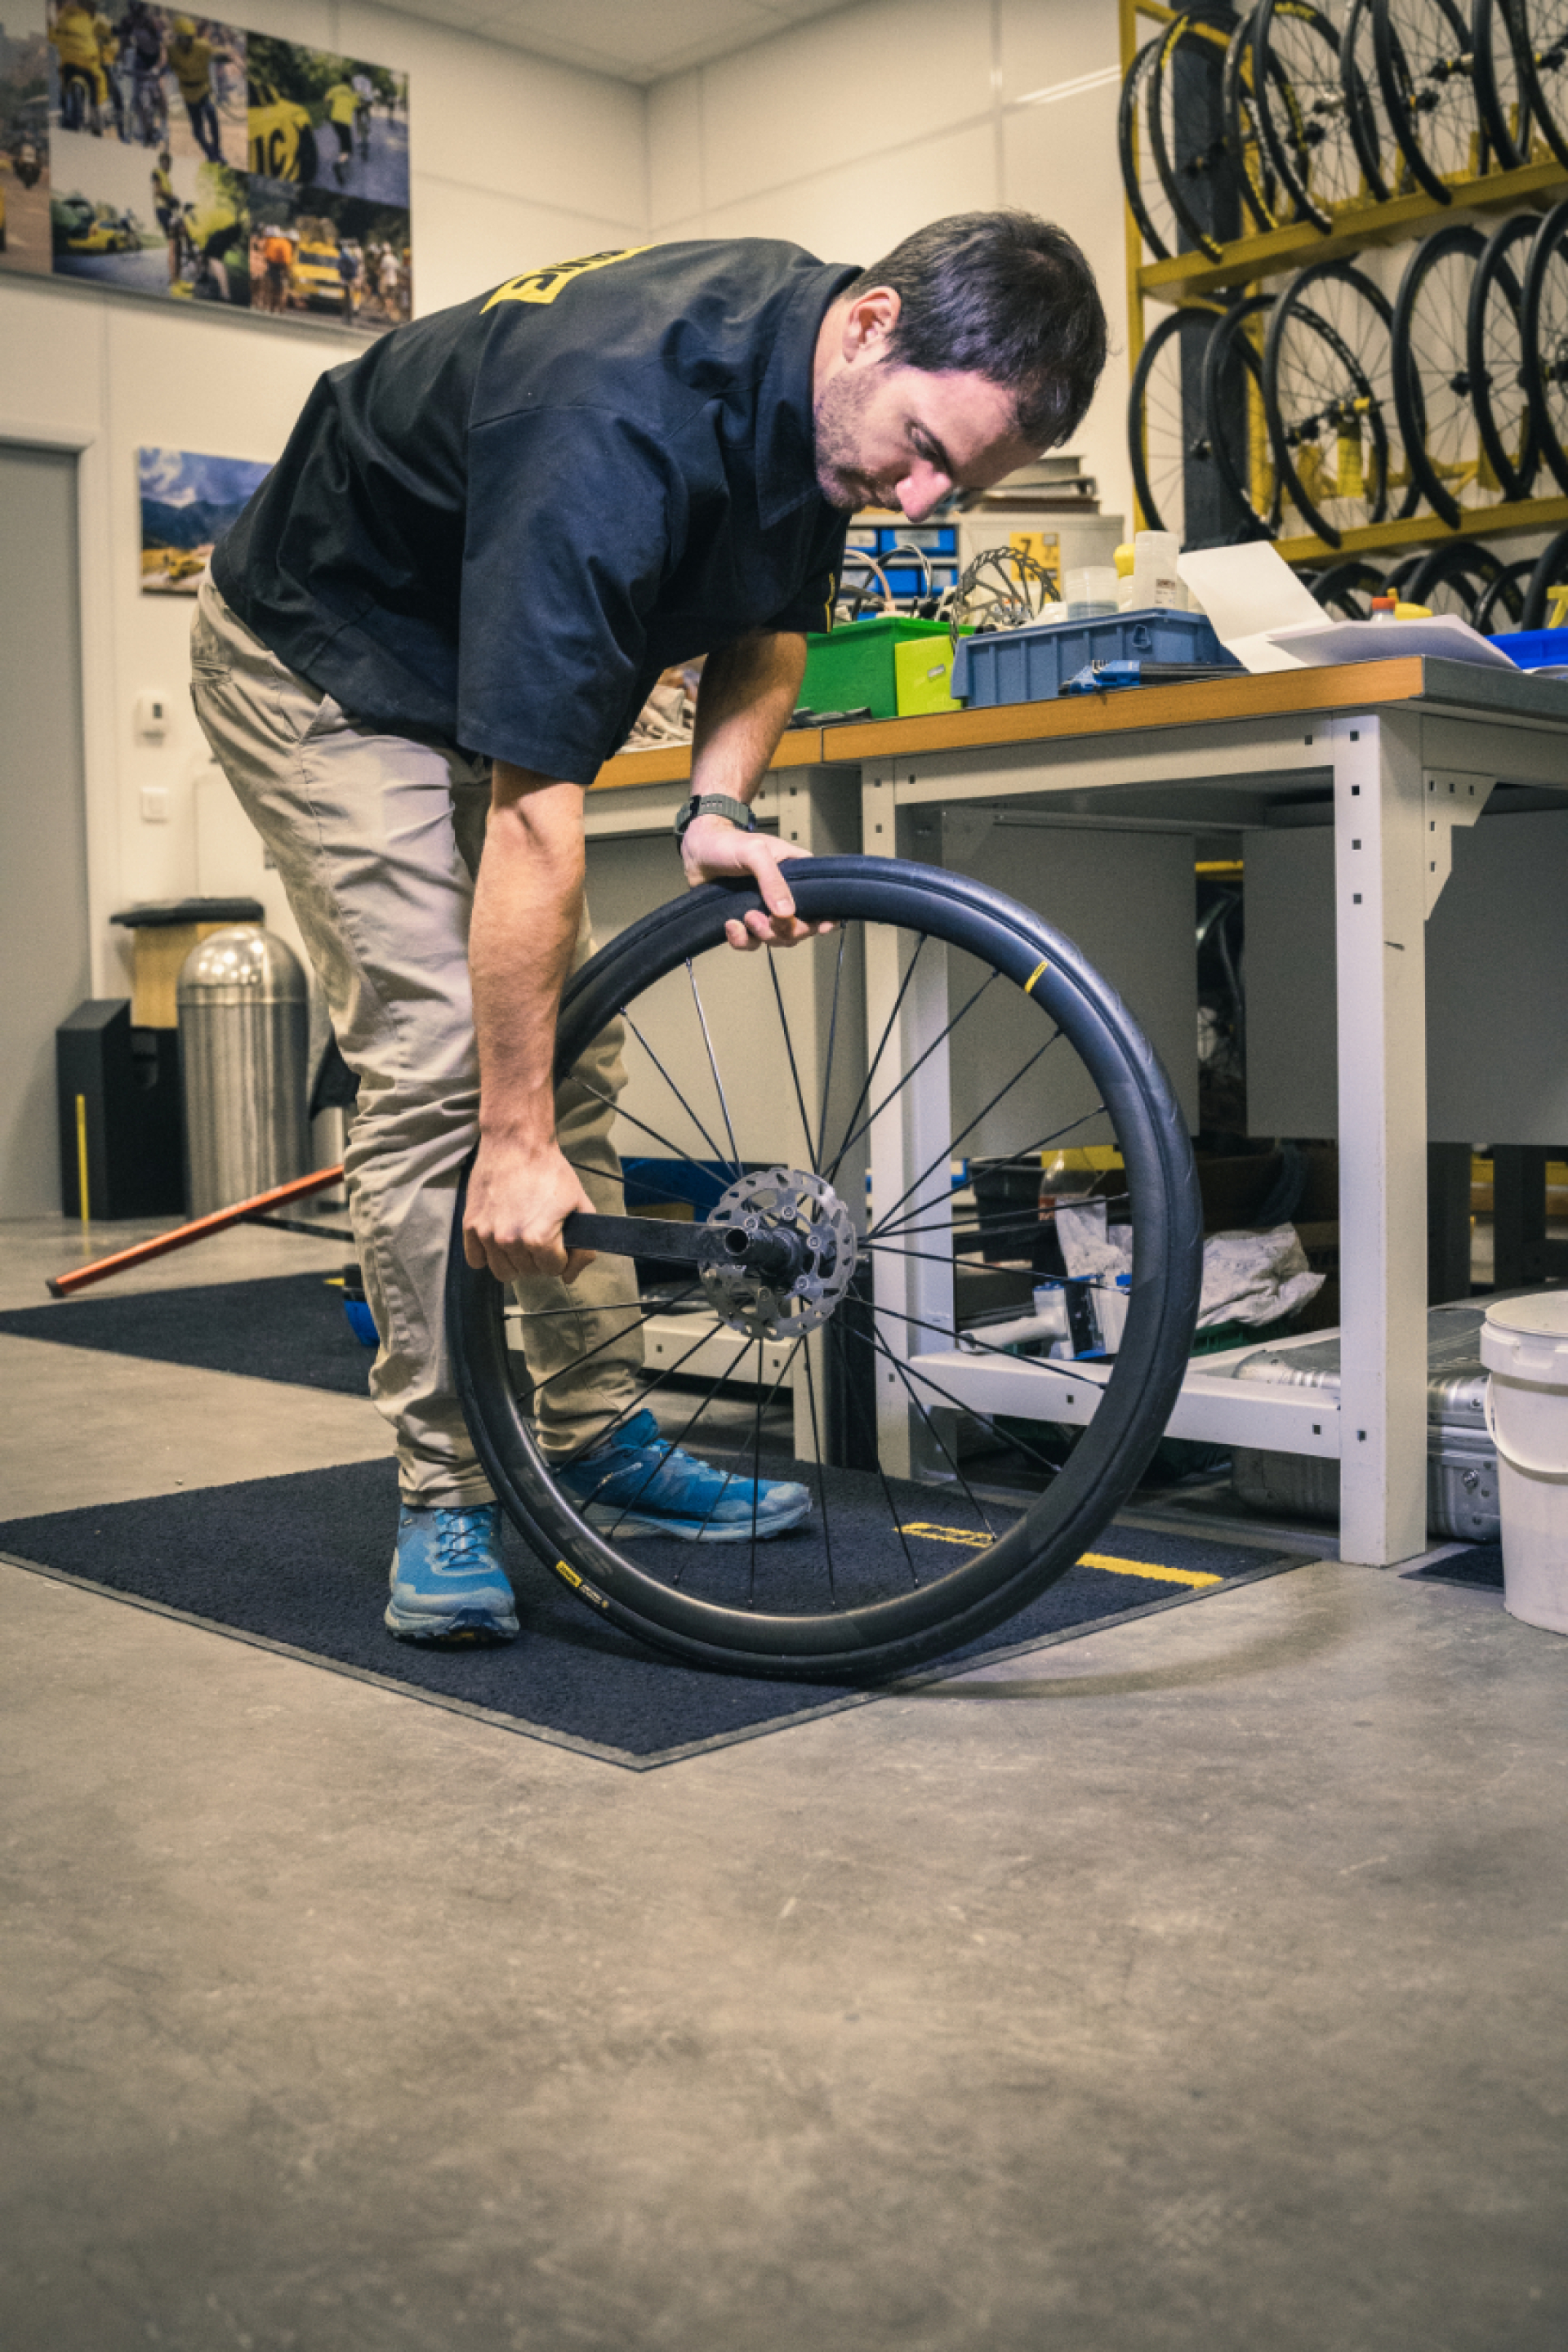
Checking the airfoil
There's a simple technique for checking the camber of your wheels. Raise the bike and spin the wheel. While it's spinning, press your finger (or another object) against the frame or fork so that you have a fixed mark on the side of the rim.
By moving the tip of your finger (or object) towards the rim, the rotation of the wheel will allow you to observe any variations in the gap between the two (the marker and the wheel).
In this way, you can easily identify whether it is necessary to uncover the wheel (or have it uncovered) when the gap exceeds 0.3 mm. Bear in mind that a slight haze is not a hindrance to riding, so there's no need to worry about very slight variations.
Carry out a complete check of the wheels for impact or damage
Following a fall or an impact, but also as part of your regular use, check that there is no major damage that could alter the performance, integrity and strength of your wheel (cracks, deformation, etc.) and therefore compromise your safety.
If this is unfortunately the case, contact Mavic customer service department.
Check the state of wear of bearings
Bearings are one of the key parts of your wheels, but they also wear down over time and will eventually need to be replaced.
To check that they are in good condition, rotate the wheel in your hands and pay attention to the noise and vibrations. If you notice any unpleasant friction, your bearings need changing.
Turn to a Mavic dealer, as you will need special tools and expertise to do the job properly.
Tyres, the point of contact between your bike and the road!
Your tiress are an essential part of your wheels, so we recommend that you regularly check their condition, looking for small cracks in the sidewalls and other signs of wear,, particularly after a long period of storage or a season of heavy riding.
The general wear of the tread should also be checked: it guarantees grip and therefore your safety. Most of today's tiress are fitted with wear indicators, so don't forget to change them as soon as they are reached!
Finally, in the case of tubeless tiress, remember to top off the tubeless sealant at least once a year, as it dries out over time and will no longer seal a leak in the case of a puncture. f If you replace the tire, remember to refreshthe sealant completely for optimum effectiveness. The correct quantity varies according to your riding style and the volume of the tire, so refer to the instructions on the bottle of tubeless sealant you buy (generally around 40 ml).
By following our guidance at the recommended frequency, you'll ensure that your wheels last a long time and perform at the highest level.
Be assiduous and methodical, and these small efforts will have apositive impact on the condition of your equipment, and therefore on the pleasure you get from riding it!